Introduction
While many users require the power of a database engine like MySQL, working exclusively from the MySQL shell can feel daunting.
phpMyAdmin provides a friendly web interface so you can administer MySQL from your browser. This tutorial explains how to install and secure phpMyAdmin so you can manage your databases on an Ubuntu server with confidence.
Installing and Hardening phpMyAdmin on Ubuntu
- Step 1 — Retrieve and Install phpMyAdmin
- Step 2 — Configure MySQL Users and Permissions
- Step 3 — Lock Down the phpMyAdmin Interface
Prequisites
To complete this guide you’ll need:
- An Ubuntu server configured with a non-root sudo user and a firewall managed with ufw. See the initial server setup guide for Ubuntu if you have not done this yet.
- An existing LAMP stack (Linux, Apache, MySQL, PHP). If you still need to set this up, review the guide on installing a LAMP stack on Ubuntu.
Because phpMyAdmin:
- Connects directly to your MySQL instance
- Authenticates using MySQL credentials
- Can execute arbitrary SQL queries and display the results
…you should never expose it over plain HTTP. Always serve the interface through HTTPS. If you do not yet have a domain name with a valid TLS certificate, follow the guide on securing Apache with Let’s Encrypt. That walkthrough also covers registering a domain, creating DNS records, and configuring a virtual host in Apache.
Step 1 — Retrieve and Install phpMyAdmin
Use APT to install phpMyAdmin from the Ubuntu repositories.
As your sudo-enabled user, refresh the package index if necessary:
$ sudo apt updateNext, install the phpmyadmin package. The official documentation also recommends several PHP extensions to unlock additional features and improve performance.
If you previously followed the LAMP setup guide, many of these modules were installed automatically with php. It’s still best to ensure that the following extensions are present:
- php-mbstring – Support for multibyte strings
- php-zip – Allows uploading .zip archives
- php-gd – Enables the GD graphics library
- php-json – Adds JSON serialization support
- php-curl – Lets PHP communicate with remote servers via multiple protocols
Install everything with:
$ sudo apt install phpmyadmin php-mbstring php-zip php-gd php-json php-curlDuring installation you’ll be prompted to configure a few options:
- Select apache2 when asked which web server should be configured.
Warning:
Although “apache2” is highlighted, it is not selected by default. Press SPACE, then TAB, and finally ENTER to confirm the choice.
- Choose Yes to let dbconfig-common create the phpMyAdmin database
- Pick a strong application password for phpMyAdmin when prompted
Note:
If you enabled the Validate Password component while installing MySQL, the installer may abort when you try to set the phpmyadmin user’s password. If that happens, open the MySQL shell:
$ sudo mysqlOr, if the root account uses password authentication:
$ mysql -u root -pThen disable the plugin temporarily:
mysql> UNINSTALL COMPONENT "file://component_validate_password";Exit MySQL, reinstall phpmyadmin, and finally re-enable the component:
mysql> INSTALL COMPONENT "file://component_validate_password";The installer automatically drops an Apache configuration file into /etc/apache2/conf-enabled/. Before using phpMyAdmin, explicitly enable the mbstring extension:
$ sudo phpenmod mbstringRestart Apache so the new settings take effect:
$ sudo systemctl restart apache2phpMyAdmin is now installed. Next you’ll verify that your MySQL users have the correct privileges.
Step 2 — Configure MySQL Users and Permissions
The installer creates a phpmyadmin MySQL account for its own internal tasks. Rather than logging in as this user, you should connect as root or as another account created specifically for administration through phpMyAdmin.
Enabling Password Authentication for the MySQL
root AccountOn Ubuntu, the root MySQL user authenticates with the auth_socket plugin by default, which lets you run MySQL commands without a password when logged in as the system’s
root user. phpMyAdmin cannot use this method, so you’ll switch to password authentication.Launch the MySQL shell:
$ sudo mysqlCheck how each account authenticates:
mysql> SELECT user,plugin FROM mysql.user;If root still uses auth_socket, change it. Replace very_strong_password with something secure:
mysql> ALTER USER 'root'@'localhost' IDENTIFIED WITH caching_sha2_password BY 'very_strong_password';Note:
If you encounter PHP connection errors, switch to mysql_native_password instead:
mysql> ALTER USER 'root'@'localhost' IDENTIFIED WITH mysql_native_password BY 'very_strong_password';Re-check the plugins to confirm the change, then exit:
mysql> exitCreating a Dedicated Administrative MySQL User
If you’d rather not use the root account, create a new one:
$ sudo mysqlOr, if root now requires a password:
$ mysql -u root -pCreate the user and grant privileges:
mysql> CREATE USER 'adminuser'@'localhost' IDENTIFIED WITH caching_sha2_password BY 'another_strong_password';If necessary, switch to mysql_native_password:
mysql> ALTER USER 'adminuser'@'localhost' IDENTIFIED WITH mysql_native_password BY 'another_strong_password';Grant full privileges and the ability to grant privileges to others:
mysql> GRANT ALL PRIVILEGES ON *.* TO 'adminuser'@'localhost' WITH GRANT OPTION;Exit MySQL:
mysql> exitYou can now reach the interface at:
https://your_domain_or_IP/phpmyadmin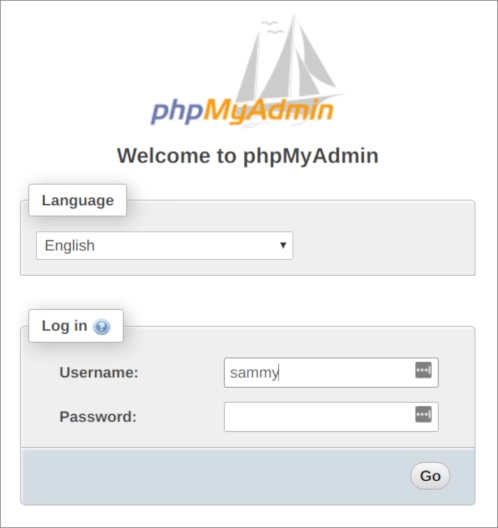
Log in as root or the new adminuser account to access the dashboard:
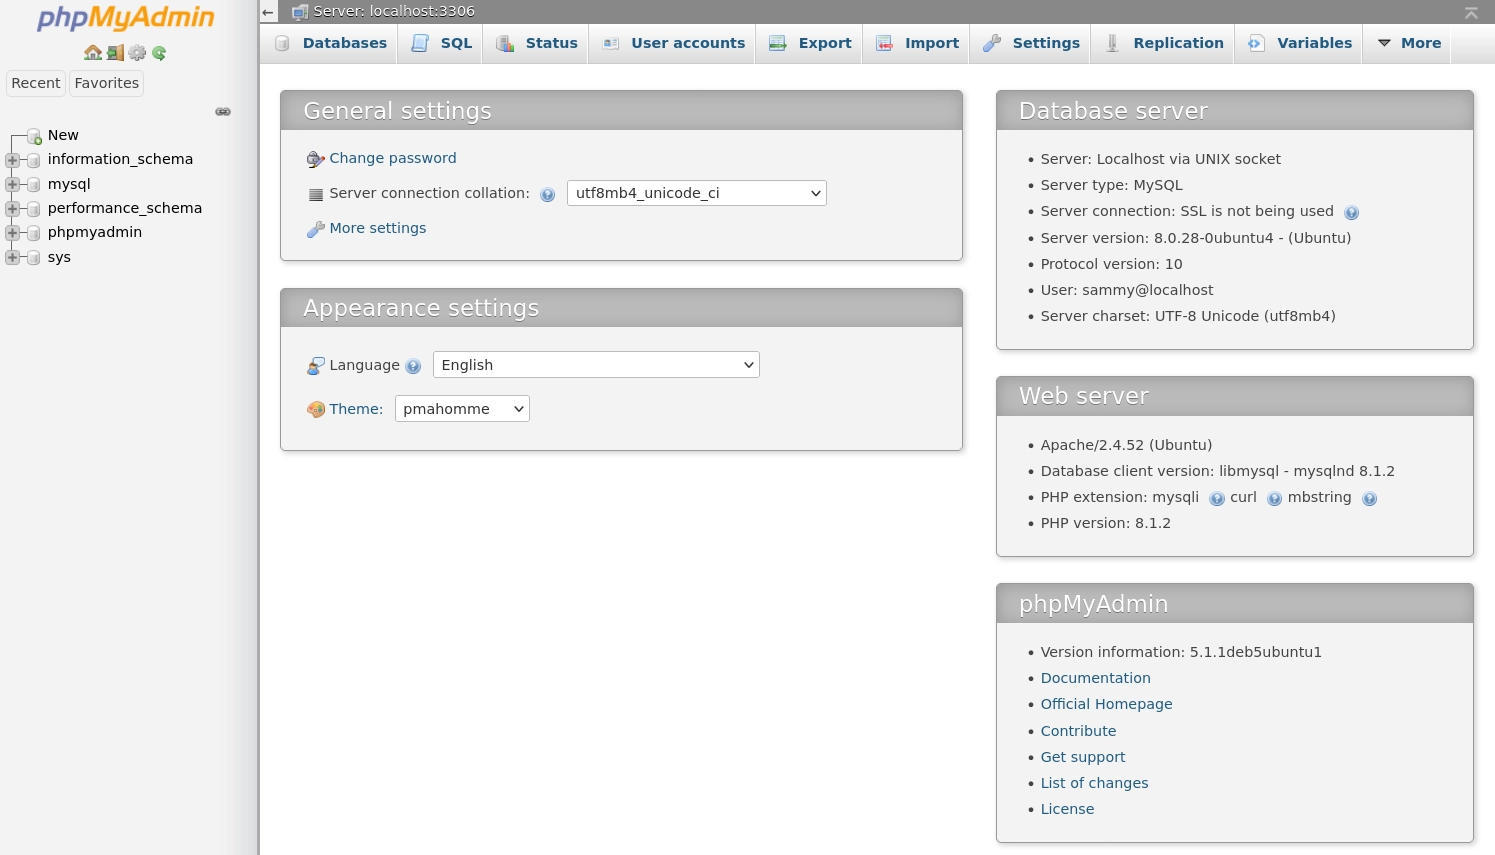
Before making the interface publicly accessible, add an extra layer of protection.
Step 3 — Lock Down the phpMyAdmin Interface
phpMyAdmin is a common target for automated attacks. One effective defense is to place an additional login prompt in front of the entire application by leveraging Apache’s .htaccess support.
First, allow .htaccess overrides by editing the Apache configuration file created during installation:
$ sudo nano /etc/apache2/conf-available/phpmyadmin.confInsert an AllowOverride All directive inside the <Directory /usr/share/phpmyadmin> block:
/etc/apache2/conf-available/phpmyadmin.conf:
<Directory /usr/share/phpmyadmin>
    Options SymLinksIfOwnerMatch
    DirectoryIndex index.php
    AllowOverride All
    . . .
Save and exit, then restart Apache:
$ sudo systemctl restart apache2Create a new .htaccess file in the phpMyAdmin directory:
$ sudo nano /usr/share/phpmyadmin/.htaccessAdd the following lines:
/usr/share/phpmyadmin/.htaccess:
AuthType Basic
AuthName "Restricted Files"
AuthUserFile /etc/phpmyadmin/.htpasswd
Require valid-user
Create the password file and add your first user:
$ sudo htpasswd -c /etc/phpmyadmin/.htpasswd secureuserTo add more users later, omit the -c flag:
$ sudo htpasswd /etc/phpmyadmin/.htpasswd anotheruserRestart Apache one more time:
$ sudo systemctl restart apache2Now visiting
https://your_domain_or_IP/phpmyadmin will first ask for the Apache credentials you just created and then for your MySQL login, giving the site two distinct layers of authentication:https://your_domain_or_IP/phpmyadmin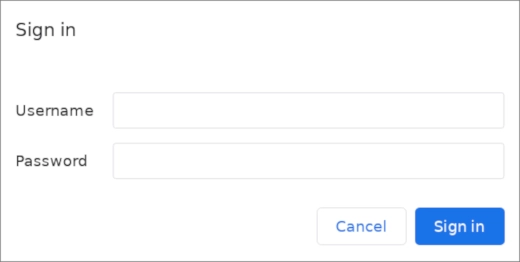
Your phpMyAdmin deployment is now significantly harder for attackers to reach.
Conclusion
At this point phpMyAdmin is installed, secured, and ready to use on your Ubuntu server. Through the interface you can create databases and users, run SQL queries, and perform routine maintenance — all from your browser.